S’mores Chocolate Chip Cookie Cups
By Kevin Cossairt
Some desserts have a way of bringing back childhood memories, and s’mores are one of them. Imagine the warm, gooey marshmallow stretching as you take a bite, the melted chocolate oozing into the soft cookie cup, and the perfect crunch of graham cracker. It’s a bite-sized campfire treat that you don’t have to wait for summer to enjoy! My kids absolutely love these S’mores Chocolate Chip Cookie Cups, and I can’t blame them! They’re fun to make together, easy to prepare, and the perfect sweet treat for any occasion.
My kids absolutely love these S’mores Chocolate Chip Cookie Cups, and I can’t blame them! They’re fun to make together, easy to prepare, and the perfect sweet treat for any occasion. Whether it was a summer camping trip, a backyard bonfire, or just roasting marshmallows over the stove, s’mores are a timeless treat. But what if you could enjoy all that gooey marshmallow, melty chocolate, and crunchy graham cracker goodness in a bite-sized dessert? That’s where these S’mores Chocolate Chip Cookie Cups come in. They’re the perfect mash-up of a classic cookie and everyone’s favorite campfire treat. Easy to make and even easier to devour, these cookie cups are a must-try for any occasion.
Why You’ll Love This Recipe
- Kid-approved! My kids can’t get enough of these gooey, chocolatey treats.
- All the flavors of s’mores without the mess of a campfire.
- All the flavors of s’mores without the mess of a campfire.
- Thick, chewy chocolate chip cookie base with a graham cracker crunch.
- Easy to make and great for parties, BBQs, or a fun family treat.
- Perfectly gooey marshmallow center that melts in your mouth.
- Versatile toppings – use chocolate chips, Hershey’s squares, or Ghirardelli chocolate.
Step-By-Step Instructions
Step 1: Prepare the Cookie Cups
- Preheat oven to 350°F (175°C).
- Grease a 12-cup muffin tin or line with muffin paper cups for easy removal.
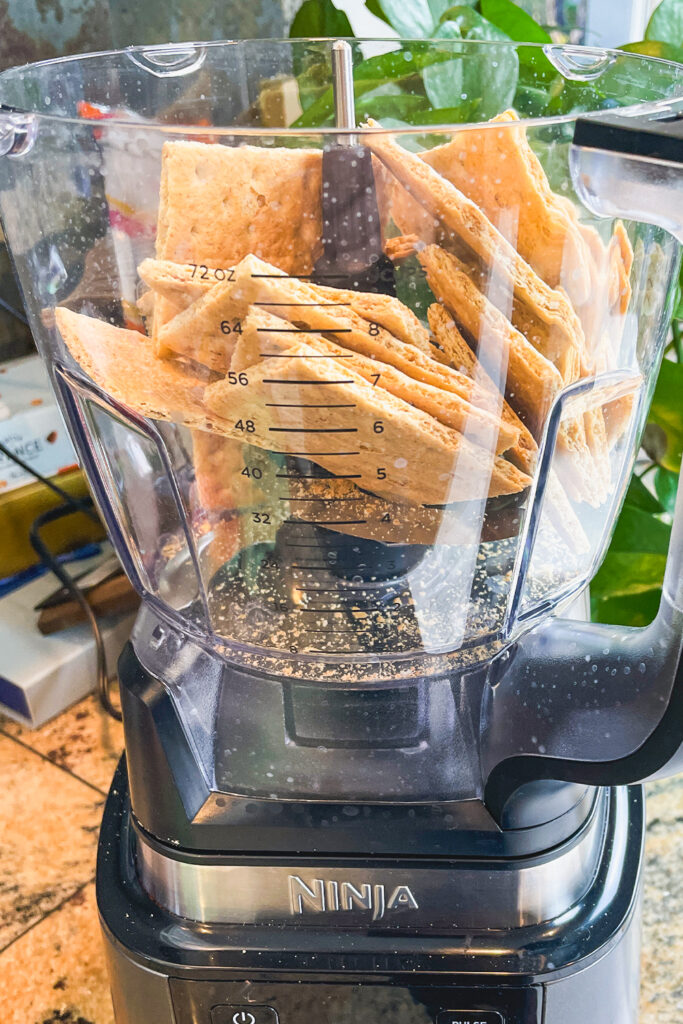
3. In a bowl, combine cookie dough with crushed graham crackers, mixing until evenly incorporated. (For extra crunch, add more crushed graham crackers!)
4. Divide the mixture into 12 portions, roughly 2.7 oz each.
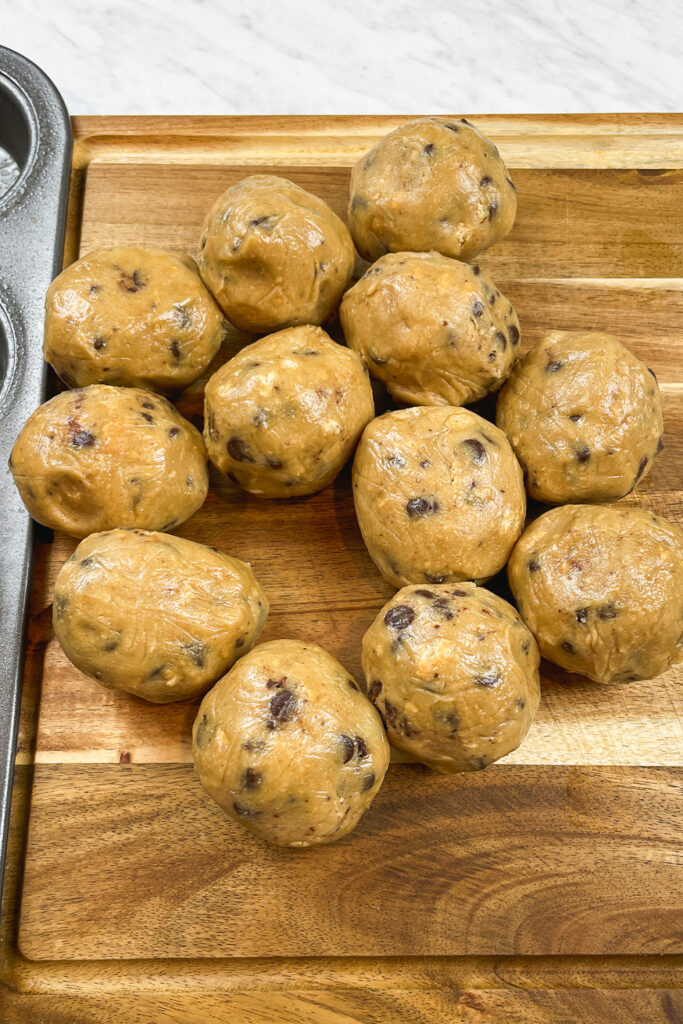
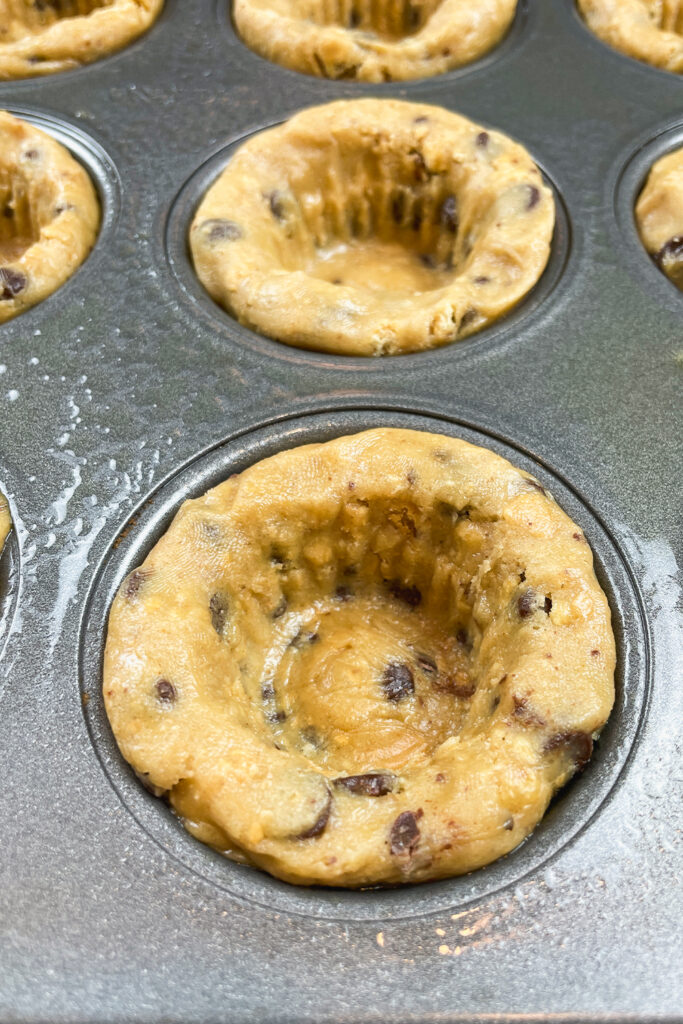
5. Roll each portion into a 2-inch ball and place in the muffin tin.
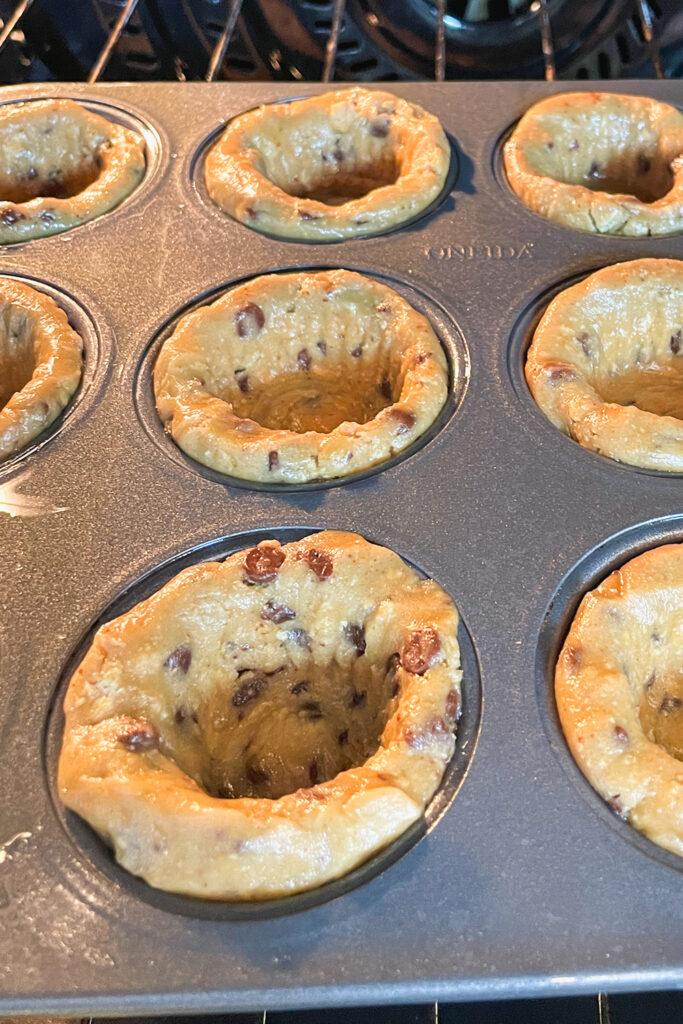
6. Using a shot glass wrapped in plastic wrap to prevent sticking, press down the center of each cookie ball to create a well for the filling.

Step 2: Bake the Cookie Cups
- Bake for 15–16 minutes or until golden brown but still soft in the center.
- Remove from the oven and immediately press down the center of each cookie cup again using a shot glass wrapped in plastic wrap to reinforce the well for the marshmallow.
Step 3: Assemble the S’mores
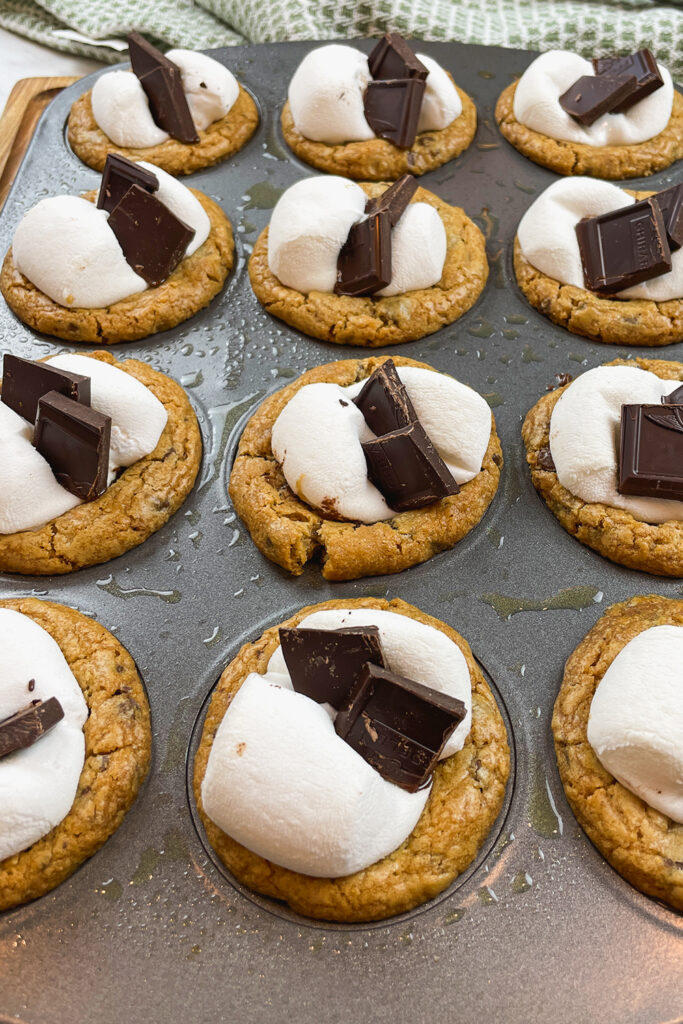
- Place one whole marshmallow and one half marshmallow into the center of each cookie cup.
- Return to the oven and bake for 2–3 minutes until the marshmallows soften and puff up slightly. (Watch closely to prevent burning!)
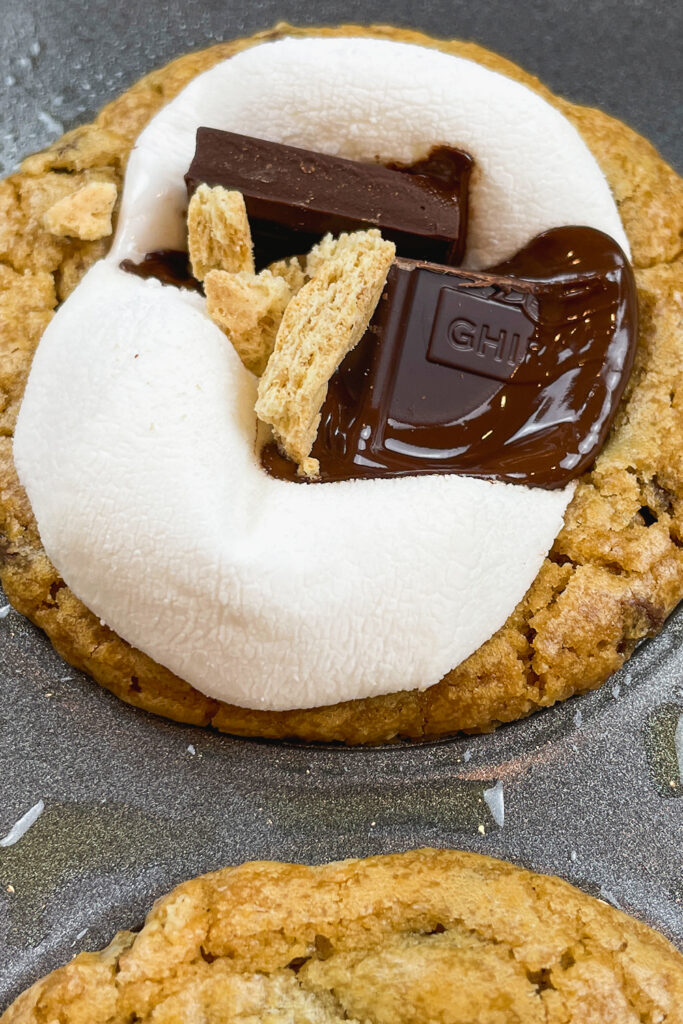
- Remove from the oven and immediately press your choice of chocolate chips, Hershey’s squares, or Ghirardelli chocolate squares into the top of each marshmallow while still warm.
Step 4: Finish & Serve
- Let the cookie cups cool in the muffin tin for 10 minutes before removing unless muffin liners were used.
- If not using liners, gently loosen each cookie cup with a knife or small spatula before removing.
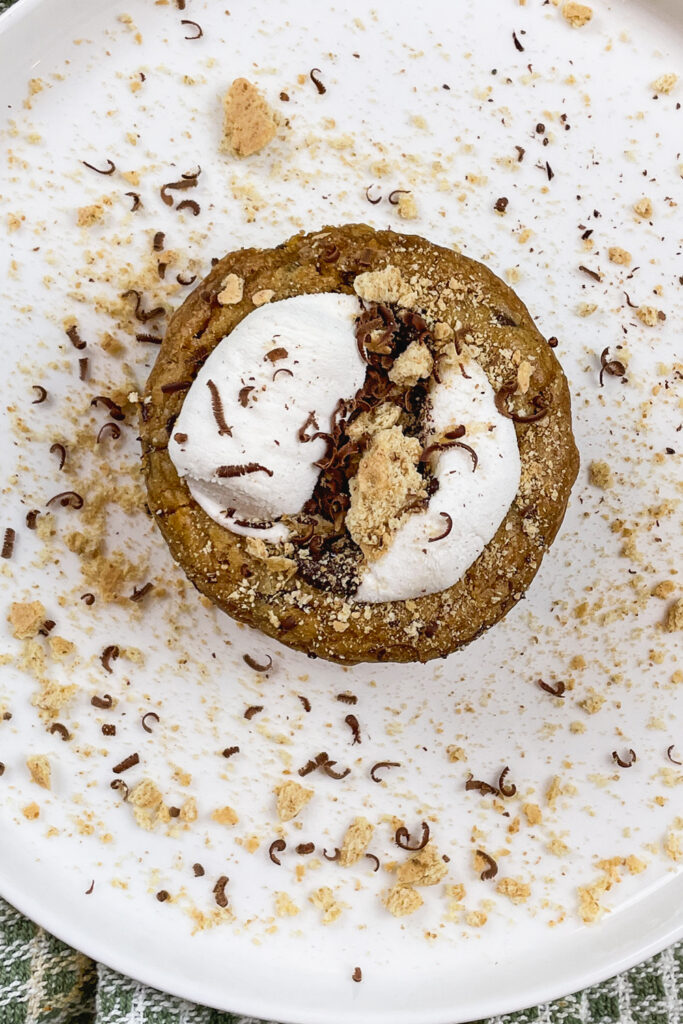
- Garnish with extra crushed graham crackers and/or chocolate shavings for added texture and presentation.
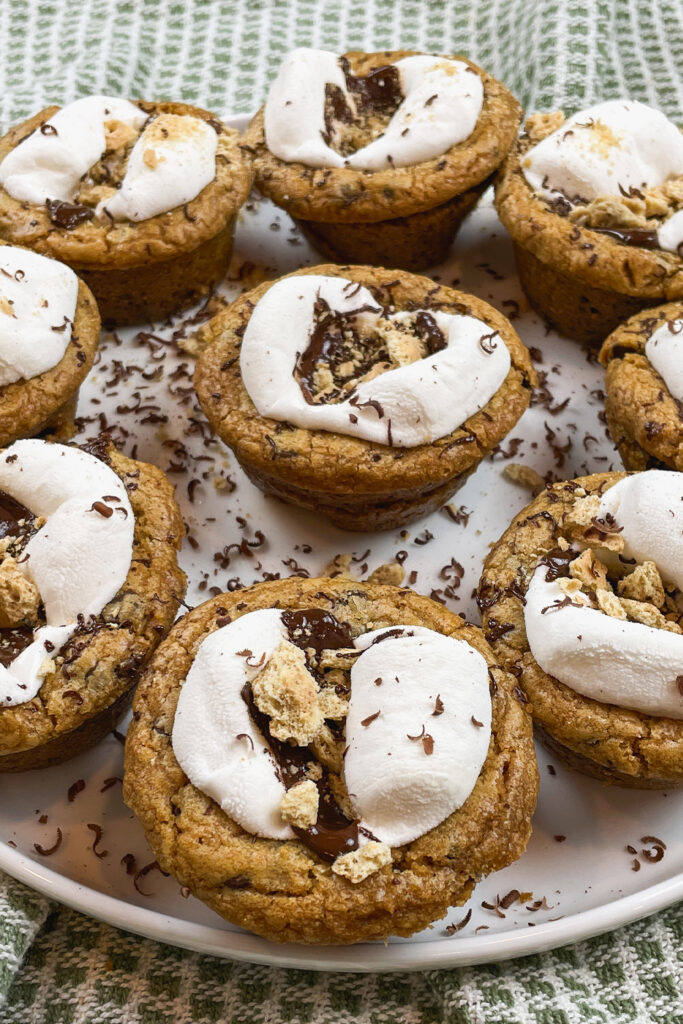
- Serve warm for the ultimate gooey, chocolatey, marshmallow-filled experience!
Final Thoughts on the Recipe
These S’mores Chocolate Chip Cookie Cups are not just for home baking—they’re a fantastic addition to any event! Serve them at birthday parties, BBQs, holiday gatherings, or even as a fun weekend treat. You can also customize them by adding caramel drizzle, peanut butter, or using flavored marshmallows for a unique twist. They store well, making them a great make-ahead dessert for entertaining. Whether you’re making them for a crowd or just a family treat, these are sure to be a hit!
These S’mores Chocolate Chip Cookie Cups take everything you love about s’mores and make them even better. They’re easier to eat, packed with flavor, and don’t require a campfire. Plus, they’re a guaranteed crowd-pleaser for any occasion.
Ways to Make It Your Own:
- Love more crunch? Add extra crushed graham crackers to the dough or as a topping.
- Want a toasted marshmallow finish? Use a kitchen torch to toast the marshmallows after baking.
- Prefer a mix of chocolate? Try combining dark, milk, and white chocolate for a fun twist.
- Make them ahead! Bake the cookie cups in advance and warm them up before serving for that fresh-out-of-the-oven taste.

S’mores Chocolate Chip Cookie Cups
Description
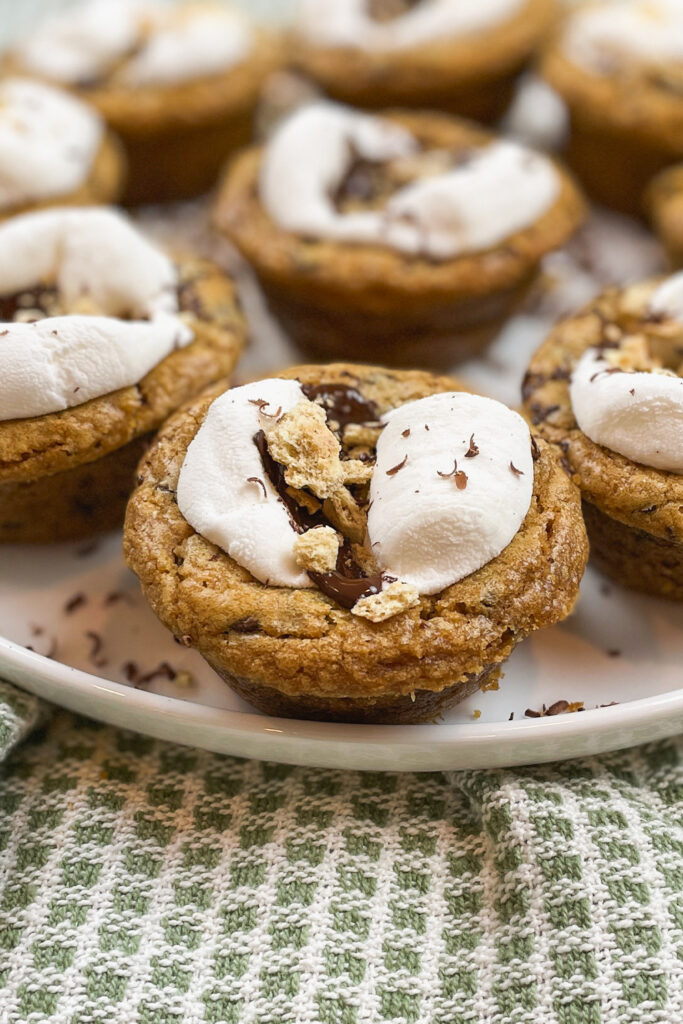
Enjoy the classic flavors of s’mores in a bite-sized, gooey cookie cup! These S’mores Chocolate Chip Cookie Cups feature a graham cracker-infused cookie base, a melty marshmallow center, and a rich chocolate topping. Perfect for parties, BBQs, or an easy sweet treat!
Ingredients
Cookie Base:
- 1 value-size (30 oz) package refrigerated chocolate chip cookie dough
- 1 package graham crackers (roughly 9 sheets, crushed, save some for topping)
Filling:
- 18 large marshmallows (6 cut in half, 12 left whole)
Topping:
- Chocolate chips, Hershey’s squares, or Ghirardelli chocolate squares
- Extra crushed graham crackers (for garnish, optional)
Chocolate shavings (optional, for garnish)
Instructions
Step 1: Prepare the Cookie Cups
- Preheat oven to 350°F (175°C).
- Grease a 12-cup muffin tin or line with muffin paper cups for easy removal.
- In a bowl, combine cookie dough with crushed graham crackers, mixing until evenly incorporated. (For extra crunch, add more crushed graham crackers!)
- Divide the mixture into 12 portions, roughly 2.7 oz each.
- Roll each portion into a 2-inch ball and place in the muffin tin.
- Using a shot glass wrapped in plastic wrap to prevent sticking, press down the center of each cookie ball to create a well for the filling.
Step 2: Bake the Cookie Cups
- Bake for 15–16 minutes or until golden brown but still soft in the center.
- Remove from the oven and immediately press down the center of each cookie cup again using a shot glass wrapped in plastic wrap to reinforce the well for the marshmallow.
Step 3: Assemble the S’mores
- Place one whole marshmallow and one half marshmallow into the center of each cookie cup.
- Return to the oven and bake for 2–3 minutes until the marshmallows soften and puff up slightly. (Watch closely to prevent burning!)
- Remove from the oven and immediately press your choice of chocolate chips, Hershey’s squares, or Ghirardelli chocolate squares into the top of each marshmallow while still warm.
Step 4: Finish & Serve
- Let the cookie cups cool in the muffin tin for 10 minutes before removing unless muffin liners were used.
- If not using liners, gently loosen each cookie cup with a knife or small spatula before removing.
- Garnish with extra crushed graham crackers and/or chocolate shavings for added texture and presentation.
- Serve warm for the ultimate gooey, chocolatey, marshmallow-filled experience!
Recipe Notes & Tips
- For an extra gooey marshmallow center: Lightly toast the marshmallows using a kitchen torch after baking.
- For more crunch, add extra crushed graham crackers to the dough mixture or sprinkle generously on top!
- Use muffin paper cups for easier removal and less cleanup.
- Make ahead! Bake the cookie bases in advance, then warm them up before adding the marshmallow and chocolate toppings for a fresh-out-of-the-oven feel.
- Storage: Store leftovers in an airtight container at room temperature for up to 3 days. Reheat for 5-10 seconds in the microwave to soften.
Notes
📌 Save this recipe for later!
📩 Follow me for more dessert inspiration: Kevin’s Daily Dish
📺 YouTube: @KevinsDailyDish
📌 Pinterest: Kevin’s Daily Dish
Call to Action – Stay Connected!
📌 Save this devotional for later and reflect on it throughout your week.
💬 Leave a comment—what’s one small moment you’re grateful for today?
📢 Follow me for more faith-filled inspiration and delicious recipes!
📺 YouTube: @KevinsDailyDish
📌 Pinterest: Kevin’s Daily Dish
📩 Check out my full collection of recipes: Kevin’s Daily Dish