
Homemade Crème Brûlée Coffee Creamer
by Kevin Cossairt
A Decadent Twist on Your Morning Cup
If there’s one thing my wife loves to remind me of, it’s that I’m always drinking “chemicals” with those store-bought coffee creamers. Every time I grab one from the fridge, she gives me that look—the one that says, Why don’t you just make your own? She’s right (as usual). Most commercial creamers are loaded with preservatives, artificial flavors, and unnecessary additives. So, I finally took her advice and started making my own, and let me tell you—there’s no going back.
This homemade Crème Brûlée coffee creamer is smooth, rich, and perfectly sweet. It takes everything you love about the classic French dessert—deep caramelized flavors, warm vanilla notes, and velvety texture—and blends it into your morning coffee. Plus, making your own homemade coffee creamer means you control the ingredients. No artificial flavors, just pure, delicious goodness. Whether you prefer a classic, sugar-free coffee creamer, or dairy-free coffee creamer, I’ve got you covered with all the variations below!
Why You’ll Love This Homemade Coffee Creamer
- Luxurious flavor – A deep caramel sweetness with a creamy vanilla finish.
- No artificial ingredients – Just simple, real ingredients you can feel good about.
- Customizable – Adjust the sweetness, creaminess, and intensity to your taste.
- Easy to make – Takes just a few minutes and stores well for a week.
- Multiple options – Whether you need sugar-free, non-dairy, or the classic version, this recipe works for everyone.
How to Make Crème Brûlée Coffee Creamer
This DIY coffee creamer blends rich caramel and smooth vanilla for a flavor that’s better than anything you’ll find in a bottle at the store.
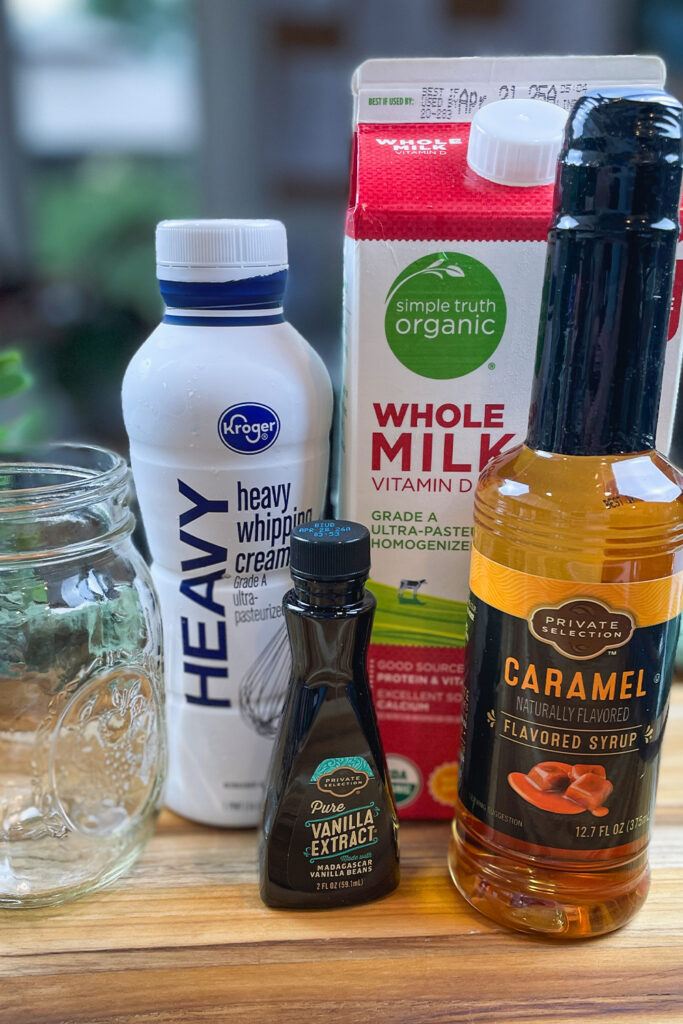
Ingredients:
- 1 cup heavy cream
- 1 cup whole milk
- 2 tbsp caramel sauce
- 1 tsp vanilla extract
Instructions:
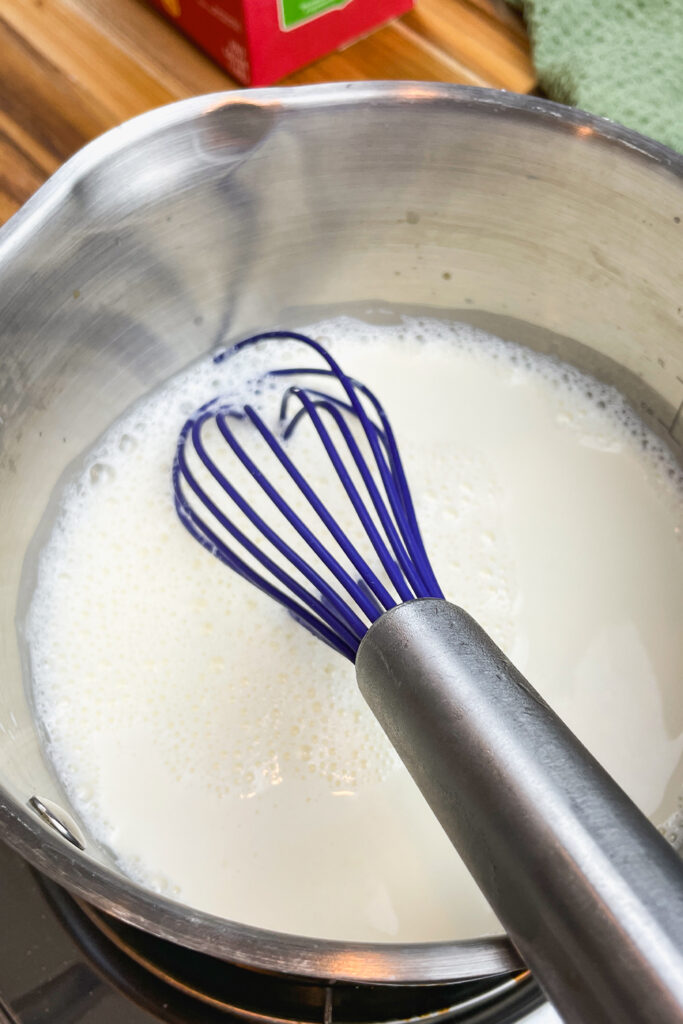
- In a saucepan, heat the milk and heavy cream over low heat, stirring occasionally.
- Add the caramel sauce and stir until fully dissolved.
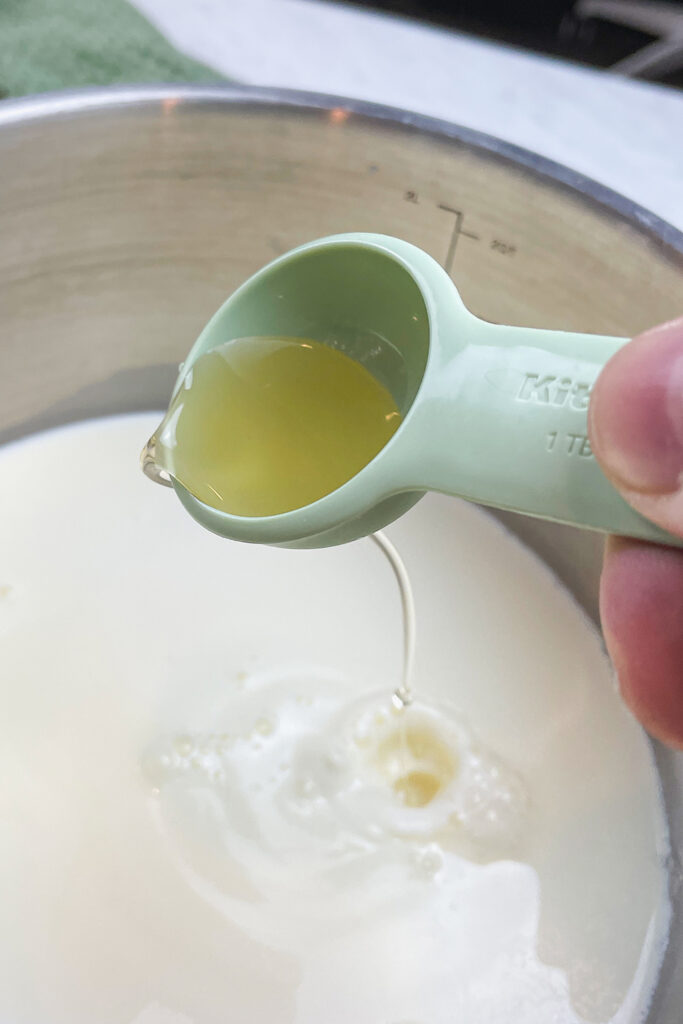
- Remove from heat and mix in the vanilla extract.
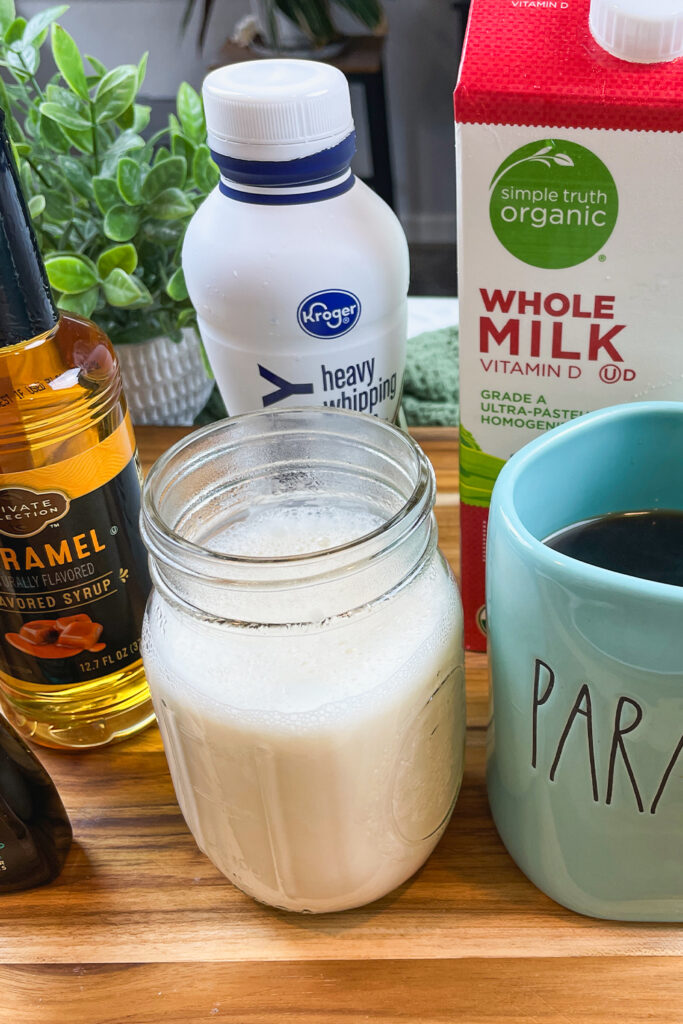
- Let the mixture cool, then transfer it to an airtight container.
- Store in the refrigerator for up to one week and shake well before each use.
Sugar-Free Crème Brûlée Coffee Creamer
For a sugar-free coffee creamer that still delivers that rich caramel and vanilla flavor, this version swaps out the sugar while keeping the indulgent taste.
Ingredients:
- 1 cup unsweetened almond milk (or coconut milk)
- 1 cup heavy cream
- 2 tbsp sugar-free caramel syrup
- 1 tsp vanilla extract
- Liquid stevia or monk fruit sweetener (to taste)
Instructions:
- Heat the almond milk and heavy cream over low heat.
- Stir in the sugar-free caramel syrup and mix until fully combined.
- Remove from heat and add vanilla extract.
- Adjust sweetness with stevia or monk fruit, then cool and refrigerate.
- Shake well before using.
Dairy-Free Crème Brûlée Coffee Creamer
For a homemade dairy-free coffee creamer, this plant-based version keeps it creamy and flavorful without any dairy.
Ingredients:
- 1 cup canned coconut milk (or oat milk for a lighter option)
- 1 cup almond milk
- 2 tbsp maple syrup (or coconut sugar)
- 1 tsp vanilla extract
Instructions:
- In a saucepan, gently warm the coconut milk and almond milk over low heat.
- Stir in the maple syrup and mix until well blended.
- Remove from heat and add vanilla extract.
- Let the mixture cool, then transfer to an airtight container and store in the fridge.
- Shake before each use.
Final Thoughts on This DIY Coffee Creamer
Ever since I started making my own homemade coffee creamer, I’ve realized my wife was absolutely right—store-bought just doesn’t compare. This Crème Brûlée coffee creamer is smooth, rich, and full of indulgent flavors that take your morning coffee to the next level. Whether you prefer French vanilla creamer, caramel delight, or brown sugar creamer, the beauty of making it yourself is that you can control everything—flavor, sweetness, and even dairy or sugar-free options.
So, if you’re like me and love flavored coffee creamer recipes, this one is a must-try. Once you make it, you’ll never want to go back to store-bought again (and you won’t have to hear anyone nag you about drinking chemicals anymore).
Give it a try, and let me know what you think! What’s your go-to homemade coffee creamer recipe? Drop a comment below—I’d love to hear your thoughts!
Stay Connected!
📌 Save this recipe for later and try it out!
💬 Leave a comment—what’s your favorite way to enjoy this homemade creamer?
📢 Follow me for more coffee creamer recipes and DIY coffee creamer ideas!
▶️ YouTube: @KevinsDailyDish
📌 Pinterest: Kevin’s Daily Dish
📩 Check out my full collection of recipes on Kevin’s Daily Dish
Enjoy your homemade coffee creamer, and happy brewing! ☕
Print
Homemade Crème Brûlée Coffee Creamer
Description
A rich, caramel-infused creamer with a velvety texture inspired by the classic dessert.
Ingredients
Classic Crème Brûlée Coffee Creamer
Ingredients:
- 1 cup heavy cream
- 1 cup milk (whole or 2%)
- 2 tbsp caramel sauce (homemade or store-bought)
- 1 tsp vanilla extract
Sugar-Free Crème Brûlée Coffee Creamer
Ingredients:
- 1 cup heavy cream
- 1 cup unsweetened almond milk (or another low-carb milk alternative)
- 2 tbsp sugar-free caramel sauce
- 1 tsp vanilla extract
- Stevia or monk fruit sweetener, to taste
Dairy-Free Crème Brûlée Coffee Creamer
Ingredients:
- 1 cup canned coconut milk
- 1 cup unsweetened almond milk (or oat milk)
- 2 tbsp caramel sauce (dairy-free)
- 1 tsp vanilla extract
- Maple syrup or agave nectar, to taste
Instructions
- Warm the Base: In a saucepan over low to medium heat, warm the milk and cream (or dairy-free alternatives), stirring occasionally.
- Incorporate Flavor: Stir in the caramel sauce and vanilla extract, ensuring everything is well combined.
- Adjust Sweetness: If using a sugar-free or dairy-free version, adjust sweetness by adding stevia, monk fruit, maple syrup, or agave nectar to taste.
- Gently Heat: Continue warming the mixture for 3-5 minutes, stirring frequently. Do not let it boil.
- Cool and Store: Remove from heat and let the creamer cool slightly before transferring it to an airtight container.
- Refrigerate: Store in the refrigerator for up to one week. Shake well before each use.