Homemade Hazelnut Coffee Creamer Recipe – Easy, Healthy & Dairy-Free Options
by Kevin Cossairt
Why I Stopped Buying Store-Bought Creamers
Have you ever looked at the ingredients list on a bottle of store-bought coffee creamer? The first ingredient is usually sugar, followed by soybean oil, and then a bunch of words I can’t even pronounce. The worst part? Most of these creamers don’t even contain real cream—instead, they’re loaded with artificial thickeners, hydrogenated oils, and preservatives to extend shelf life. That’s not what I want in my morning coffee.
So, I started making my own, and let me tell you—it’s easier than you’d think. With just a few simple ingredients, you can have a rich, creamy, naturally flavored hazelnut creamer that’s free from artificial additives, unnecessary sugars, and processed oils. And the best part? You can customize it to your taste, whether you like it classic, sugar-free, or dairy-free.
This homemade hazelnut coffee creamer is everything a good creamer should be—smooth, rich, and packed with real flavor. Plus, you can whip it up in under five minutes, and it’ll keep in your fridge for up to two weeks. Once you try it, you’ll never go back to the store-bought stuff again.
Why You’ll Love This Recipe
- No artificial ingredients—just real, wholesome flavors
- Creamy and smooth without being overly sweet
- A perfect balance of hazelnut flavor with hints of vanilla
- Healthier than store-bought—no hydrogenated oils or hidden sugars
- Quick and easy—just mix, warm, and store
Step-by-Step Guide to the Best Hazelnut Coffee Creamer
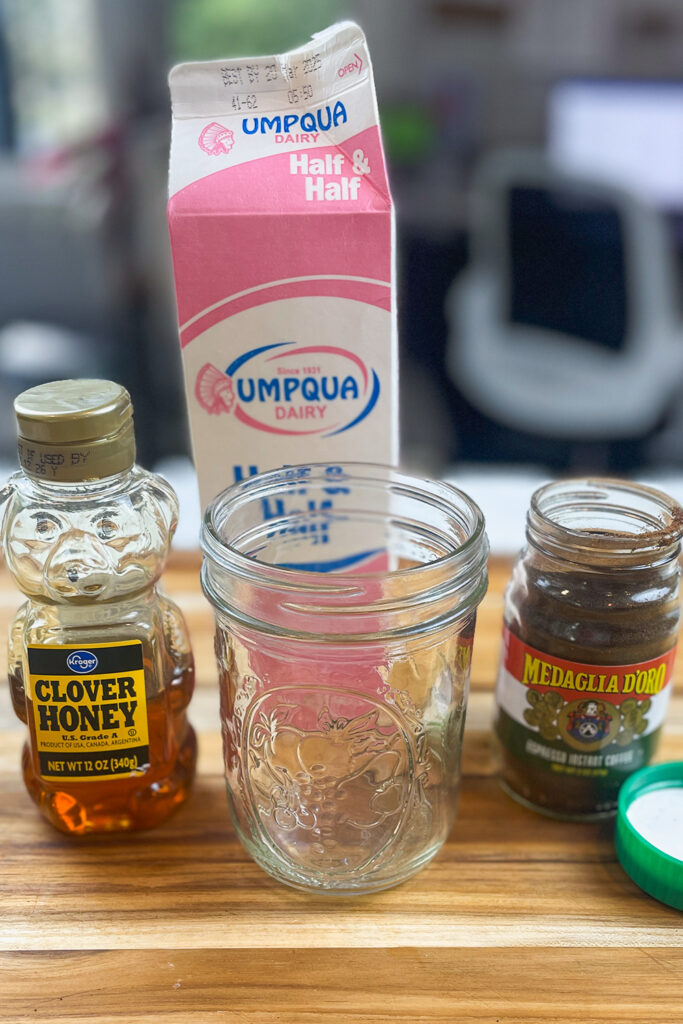
Step 1: Choose Your Ingredients
Pick the version that suits your needs:
✔️ Classic – Sweetened condensed milk + half-and-half for a rich, creamy base
✔️ Sugar-Free – Almond milk + heavy cream + low-carb sweetener for a guilt-free option
✔️ Dairy-Free – Coconut milk + oat milk for a smooth, plant-based alternative
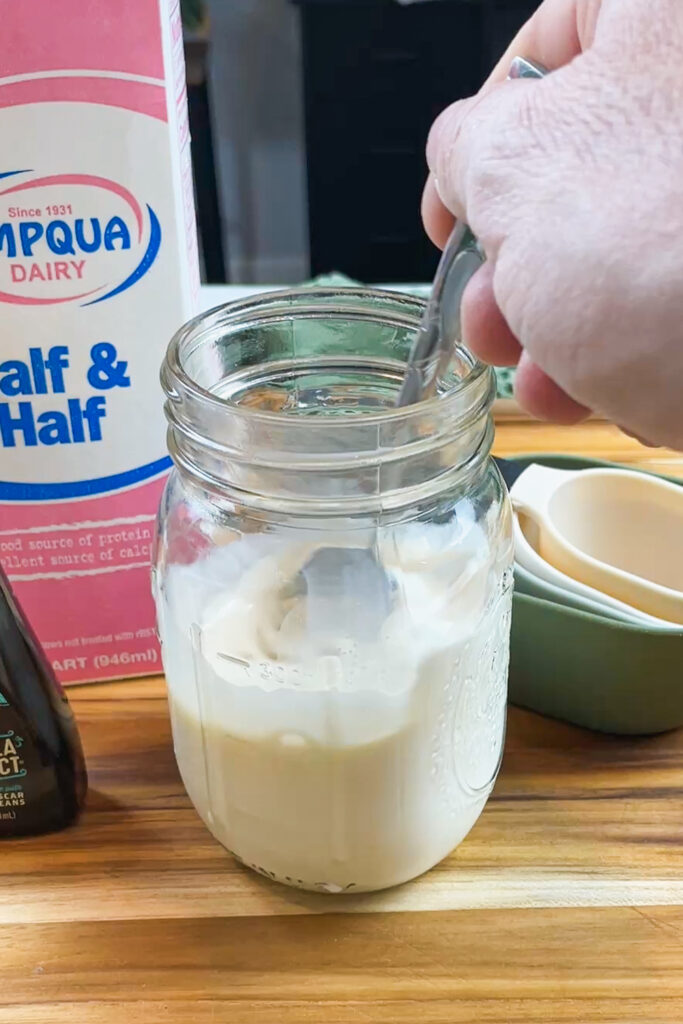
Step 2: Mix the Base
In a mixing bowl or saucepan, whisk together the liquid ingredients until smooth. Stir in hazelnut extract or syrup—if using syrup, remember you’ll need 3–4 times more than extract to get the same flavor punch.
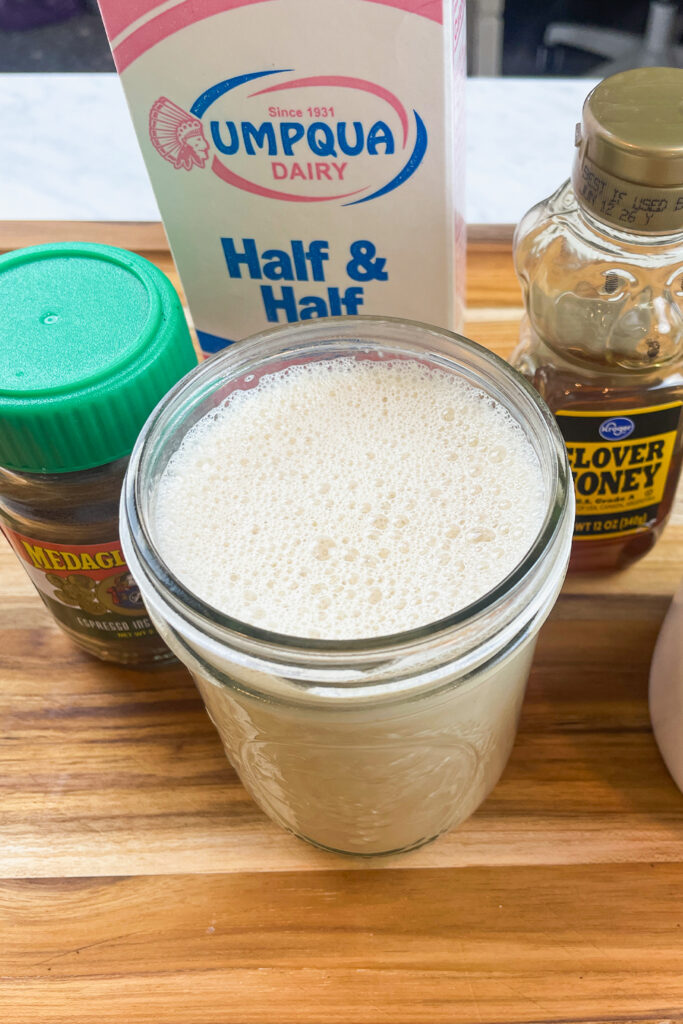
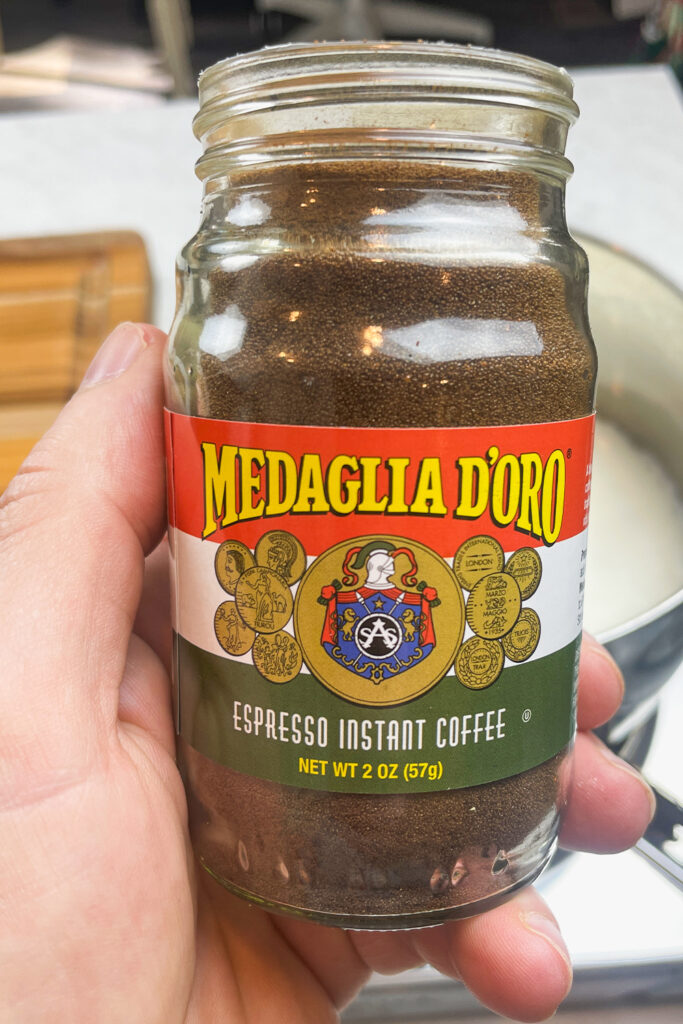
Step 3: Add the Espresso Boost (Optional but Recommended)
Want to level up your coffee game? Stir in 1 tablespoon of instant espresso powder or instant coffee to enhance the depth of flavor. It blends beautifully into the creamer and makes every sip more satisfying.
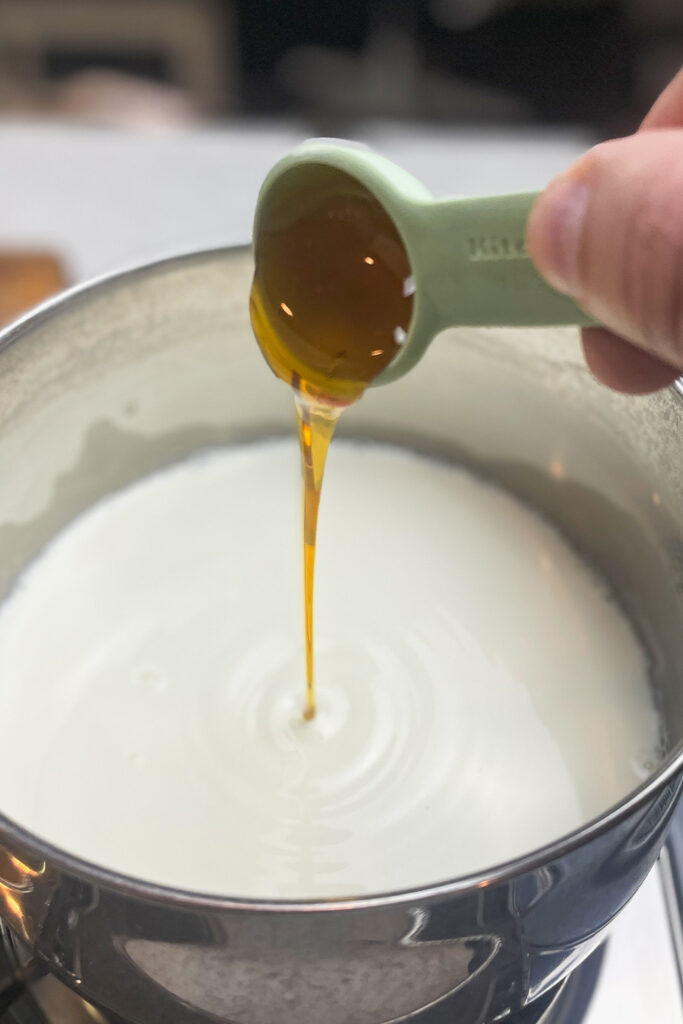
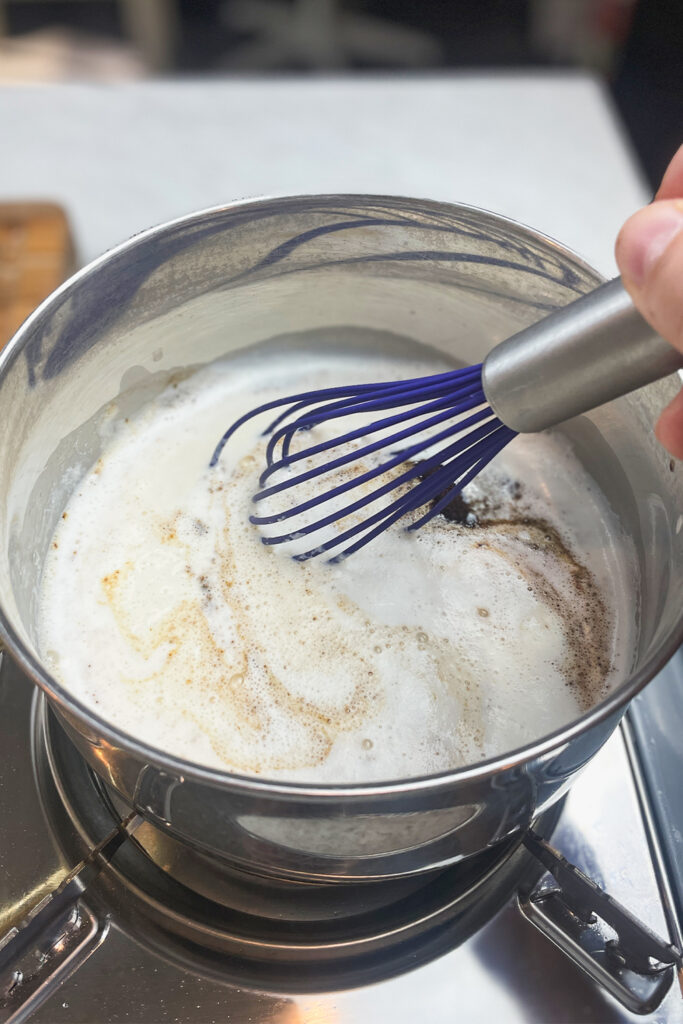
Step 4: Warm It Up for Maximum Flavor
Gently heat the mixture over low heat for 3–5 minutes, stirring occasionally. Do not let it boil—you want the flavors to meld together, not cook out. This step also ensures the espresso powder fully dissolves for a smooth texture.
Step 5: Cool, Store & Enjoy
Remove from heat, let cool slightly, and transfer to an airtight container. Label with the date and store in the refrigerator for up to 1–2 weeks. Shake well before each use, as natural ingredients may separate over time.
Why Homemade Creamer Is the Better Choice
Aside from being healthier and free of artificial additives, homemade coffee creamer is incredibly easy to make. You control the flavors, sweetness, and ingredients, meaning you can tweak it to fit your taste preferences and dietary needs.
Store-bought creamers rely on stabilizers and hydrogenated oils to create a smooth texture, but when you make it at home, you get that creaminess naturally from real milk, cream, and natural flavorings. Plus, many commercial creamers contain way more sugar than you’d expect. With this homemade version, you can adjust the sweetness or go completely sugar-free!
Ways to Customize It
- Want it extra nutty? Add a splash of almond extract
- Prefer a frothy texture? Use a milk frother before adding it to your coffee
- Like a hint of spice? A dash of cinnamon or nutmeg adds a cozy touch
- Need a thicker consistency? Blend in a teaspoon of cornstarch before heating
Once you try this homemade creamer, there’s no going back to the store-bought version!
📌 Save this recipe and try it out!
💬 Tell me in the comments: What’s your favorite coffee creamer flavor?
📢 Follow me for more homemade, restaurant-quality recipes!
▶️ YouTube: @KevinsDailyDish
📌 Pinterest: Kevin’s Daily Dish
📩 Check out my full collection of recipes: Kevin’s Daily Dish
Try this creamer and let me know how you like it! Happy brewing! ☕✨
Print
Homemade Hazelnut Coffee Creamer
Description
Classic, Sugar-Free, & Dairy-Free Versions
A rich, velvety creamer with the warm, nutty essence of hazelnut—perfect for elevating your morning coffee.
Ingredients
Classic Hazelnut Coffee Creamer:
A rich, velvety creamer with the warm, nutty essence of hazelnut—perfect for elevating your morning coffee.
Ingredients:
- 1 can (14 oz) sweetened condensed milk
- 1.5 cups half-and-half
- 2 teaspoons hazelnut extract or 2 tablespoons hazelnut syrup
- 1/2 teaspoon pure vanilla extract (optional)
- 1 tablespoon instant espresso powder or instant coffee (optional) for an extra kick!
Sugar-Free Hazelnut Coffee Creamer:
All the creamy hazelnut flavor without the added sugar!
Ingredients:
- 1.5 cups unsweetened almond milk (or other low-carb milk alternative)
- 1/2 cup heavy cream (or additional almond milk for a lighter version)
- 2 tablespoons sugar-free sweetener (monk fruit, erythritol, or stevia)
- 2 teaspoons hazelnut extract or 2 tablespoons sugar-free hazelnut syrup
- 1/2 teaspoon pure vanilla extract (optional)
- 1 tablespoon instant espresso powder or instant coffee (optional)
Dairy-Free Hazelnut Coffee Creamer:
A creamy, plant-based alternative with delicious hazelnut flavor.
Ingredients:
- 1 cup canned coconut milk (or carton coconut milk for a lighter option)
- 1 cup oat milk (or almond milk)
- 2 teaspoons hazelnut extract or 2 tablespoons dairy-free hazelnut syrup
- 2 tablespoons maple syrup or agave nectar (or sugar-free sweetener for a low-carb version)
- 1/2 teaspoon pure vanilla extract (optional)
- 1 tablespoon instant espresso powder or instant coffee (optional)
Instructions
(Applies to All Versions):
- In a bowl or saucepan, whisk together all liquid ingredients until smooth.
- Stir in hazelnut extract or syrup, vanilla extract (if using), and instant espresso powder (if using). Mix until well combined.
- (Optional) Heat over low heat for 3–5 minutes, stirring occasionally. Do not boil.
- Remove from heat, let cool slightly, and transfer to an airtight container.
- Store in the refrigerator for up to 1–2 weeks.
- Shake well before each use.
Notes:
- Sweetener Adjustments: If using syrup instead of extract, use 3–4 times more and adjust sweetness as needed.
- Heating Tip: Warming the mixture helps dissolve the espresso powder and enhances flavor but is optional.
- Storage: Dairy-free and sugar-free versions may separate slightly—shake before each use.